Build Your AI Agent
Follow our intuitive step-by-step process to create powerful AI agents tailored to your business needs
Create Agent
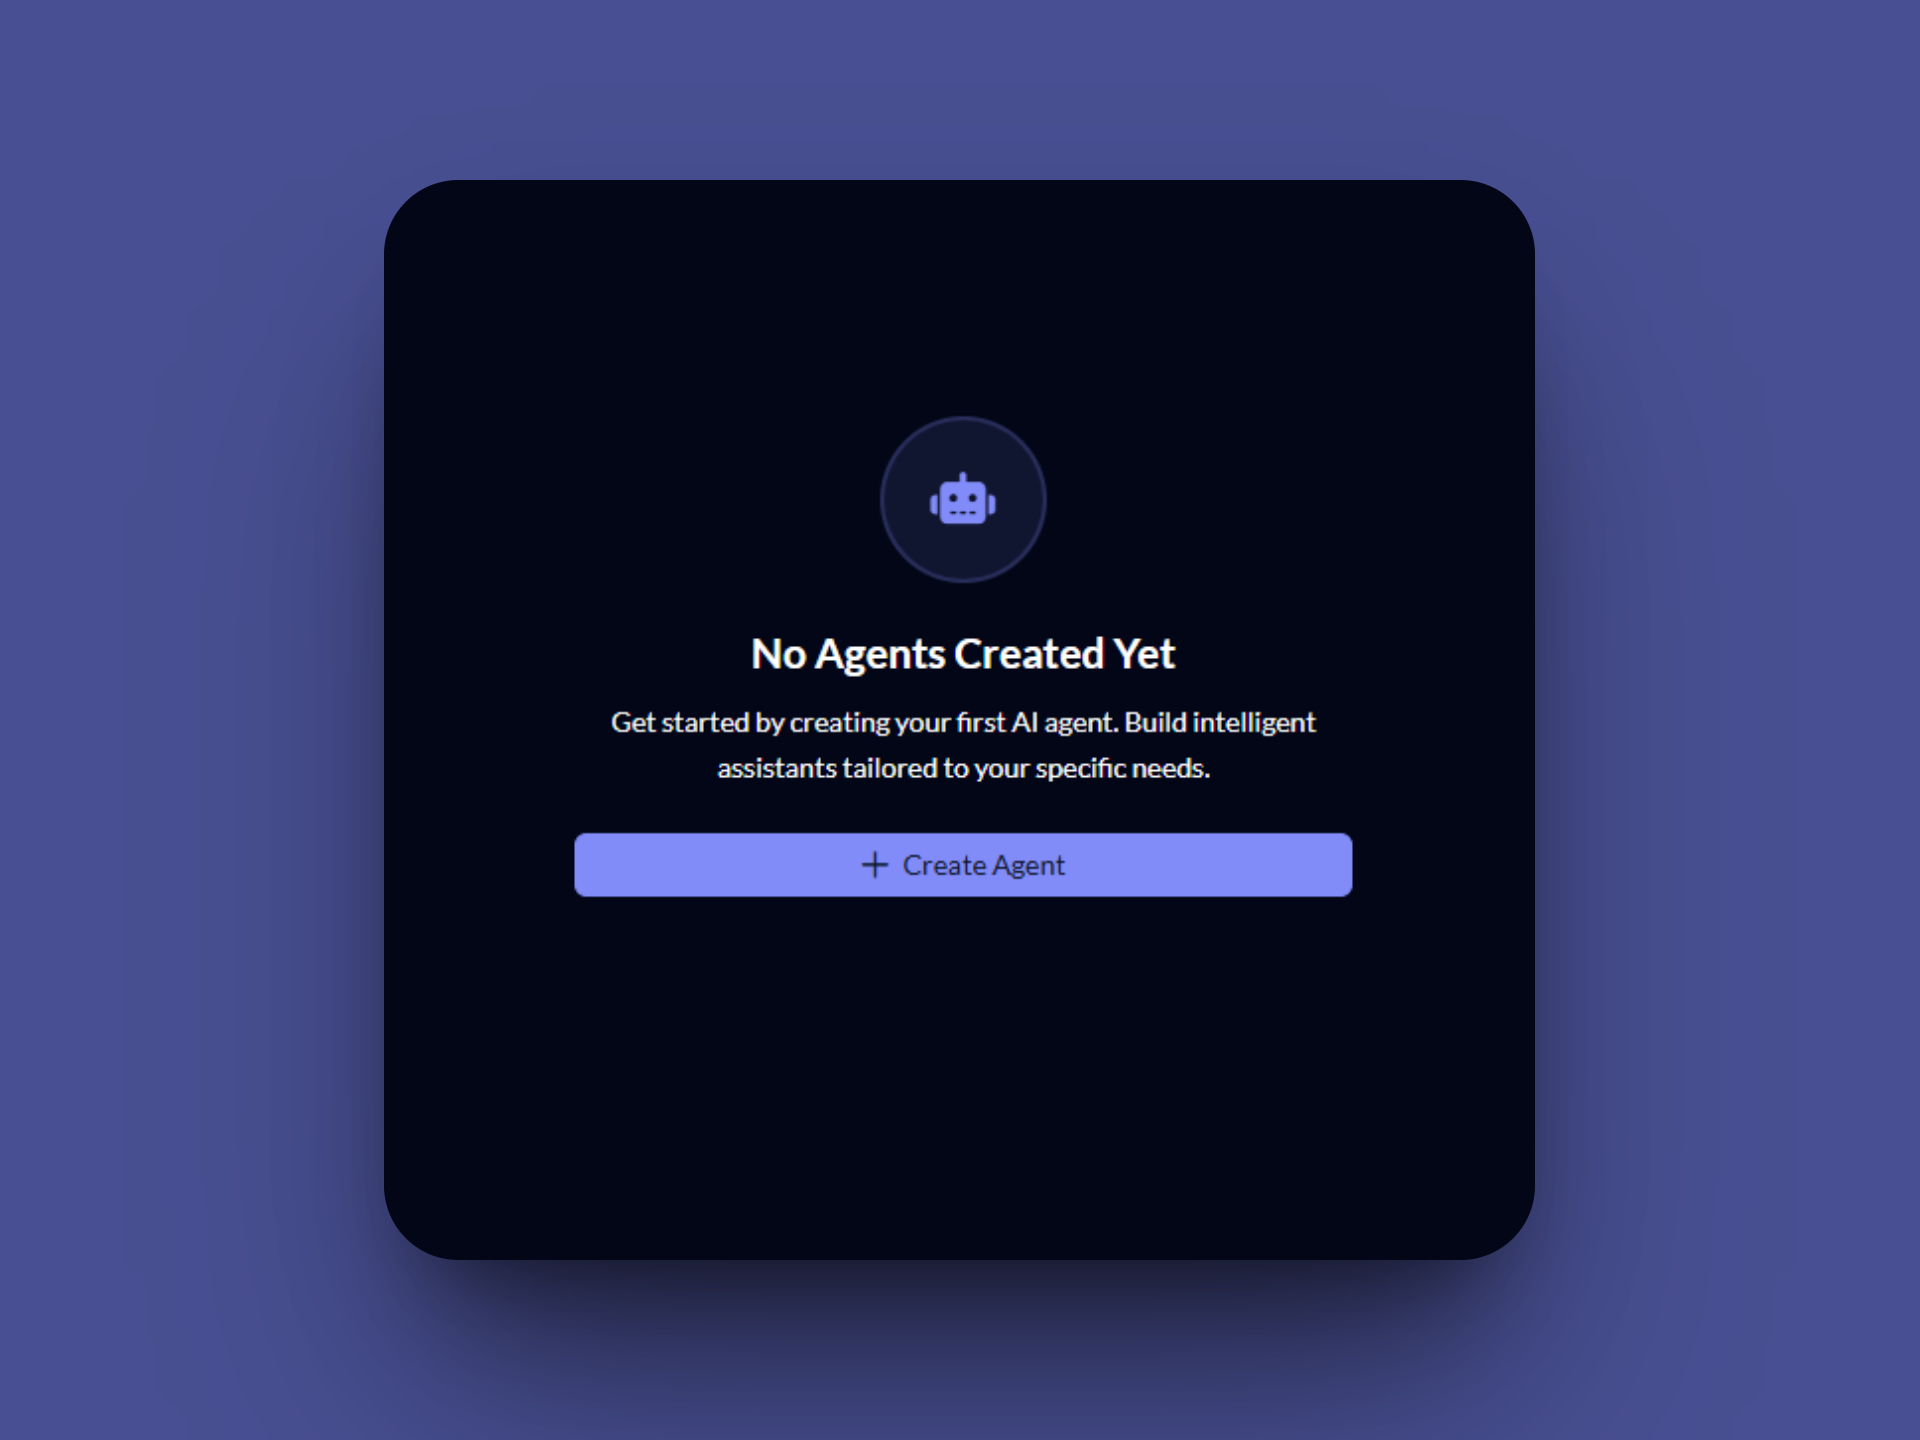
Start your journey by clicking the "Create Agent" button. This is your first step when the agents screen is empty, opening up a world of AI possibilities.
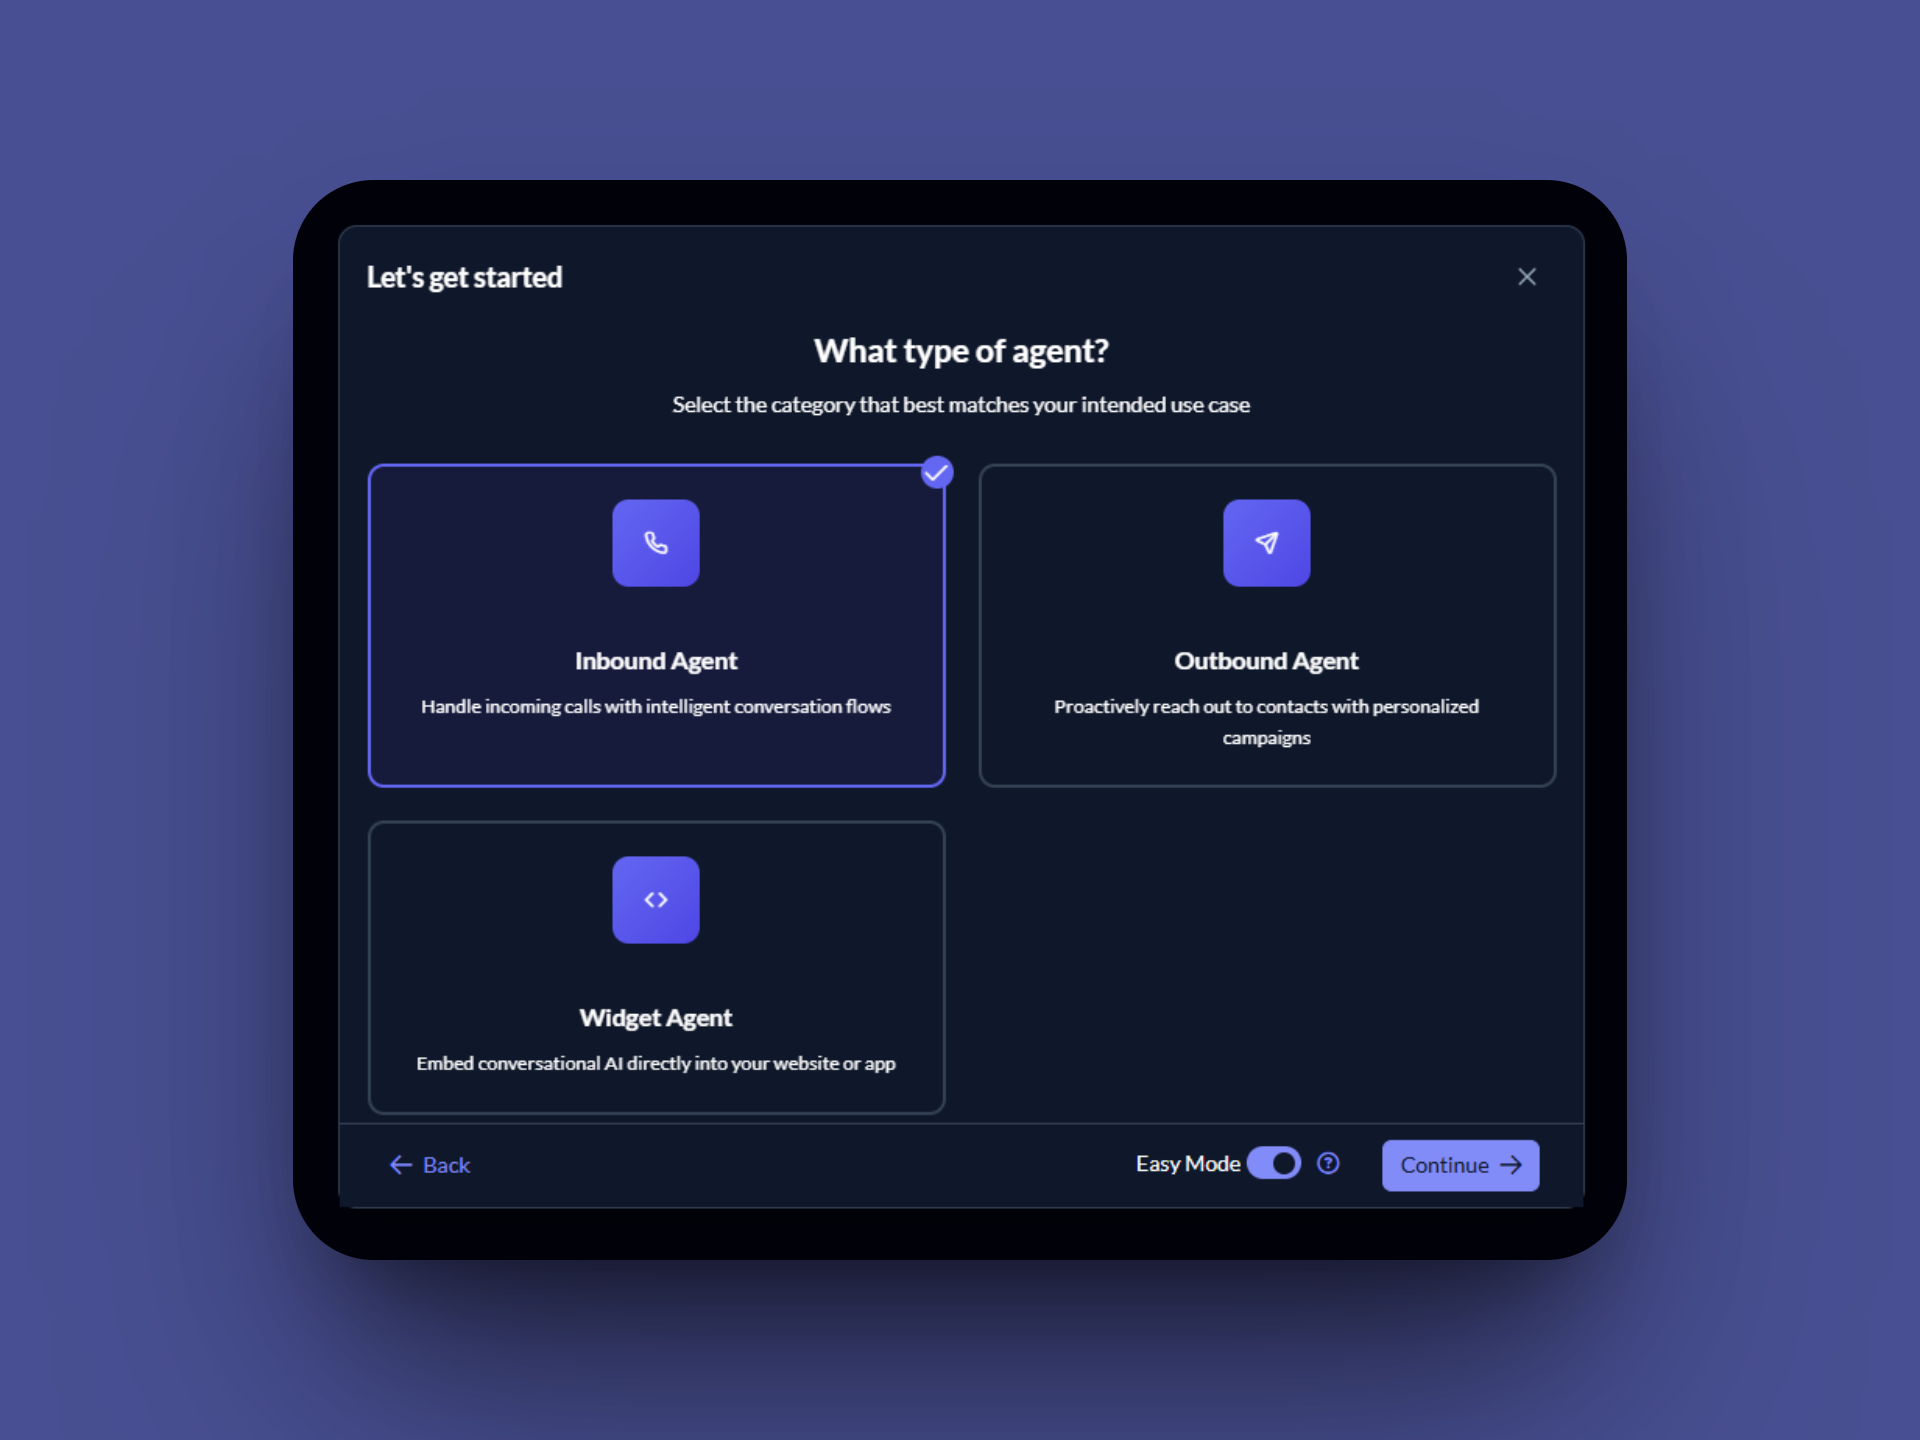
Select Category
Choose from three powerful agent categories: INBOUND for customer service, OUTBOUND for sales calls, or WIDGET AGENT for website integration.
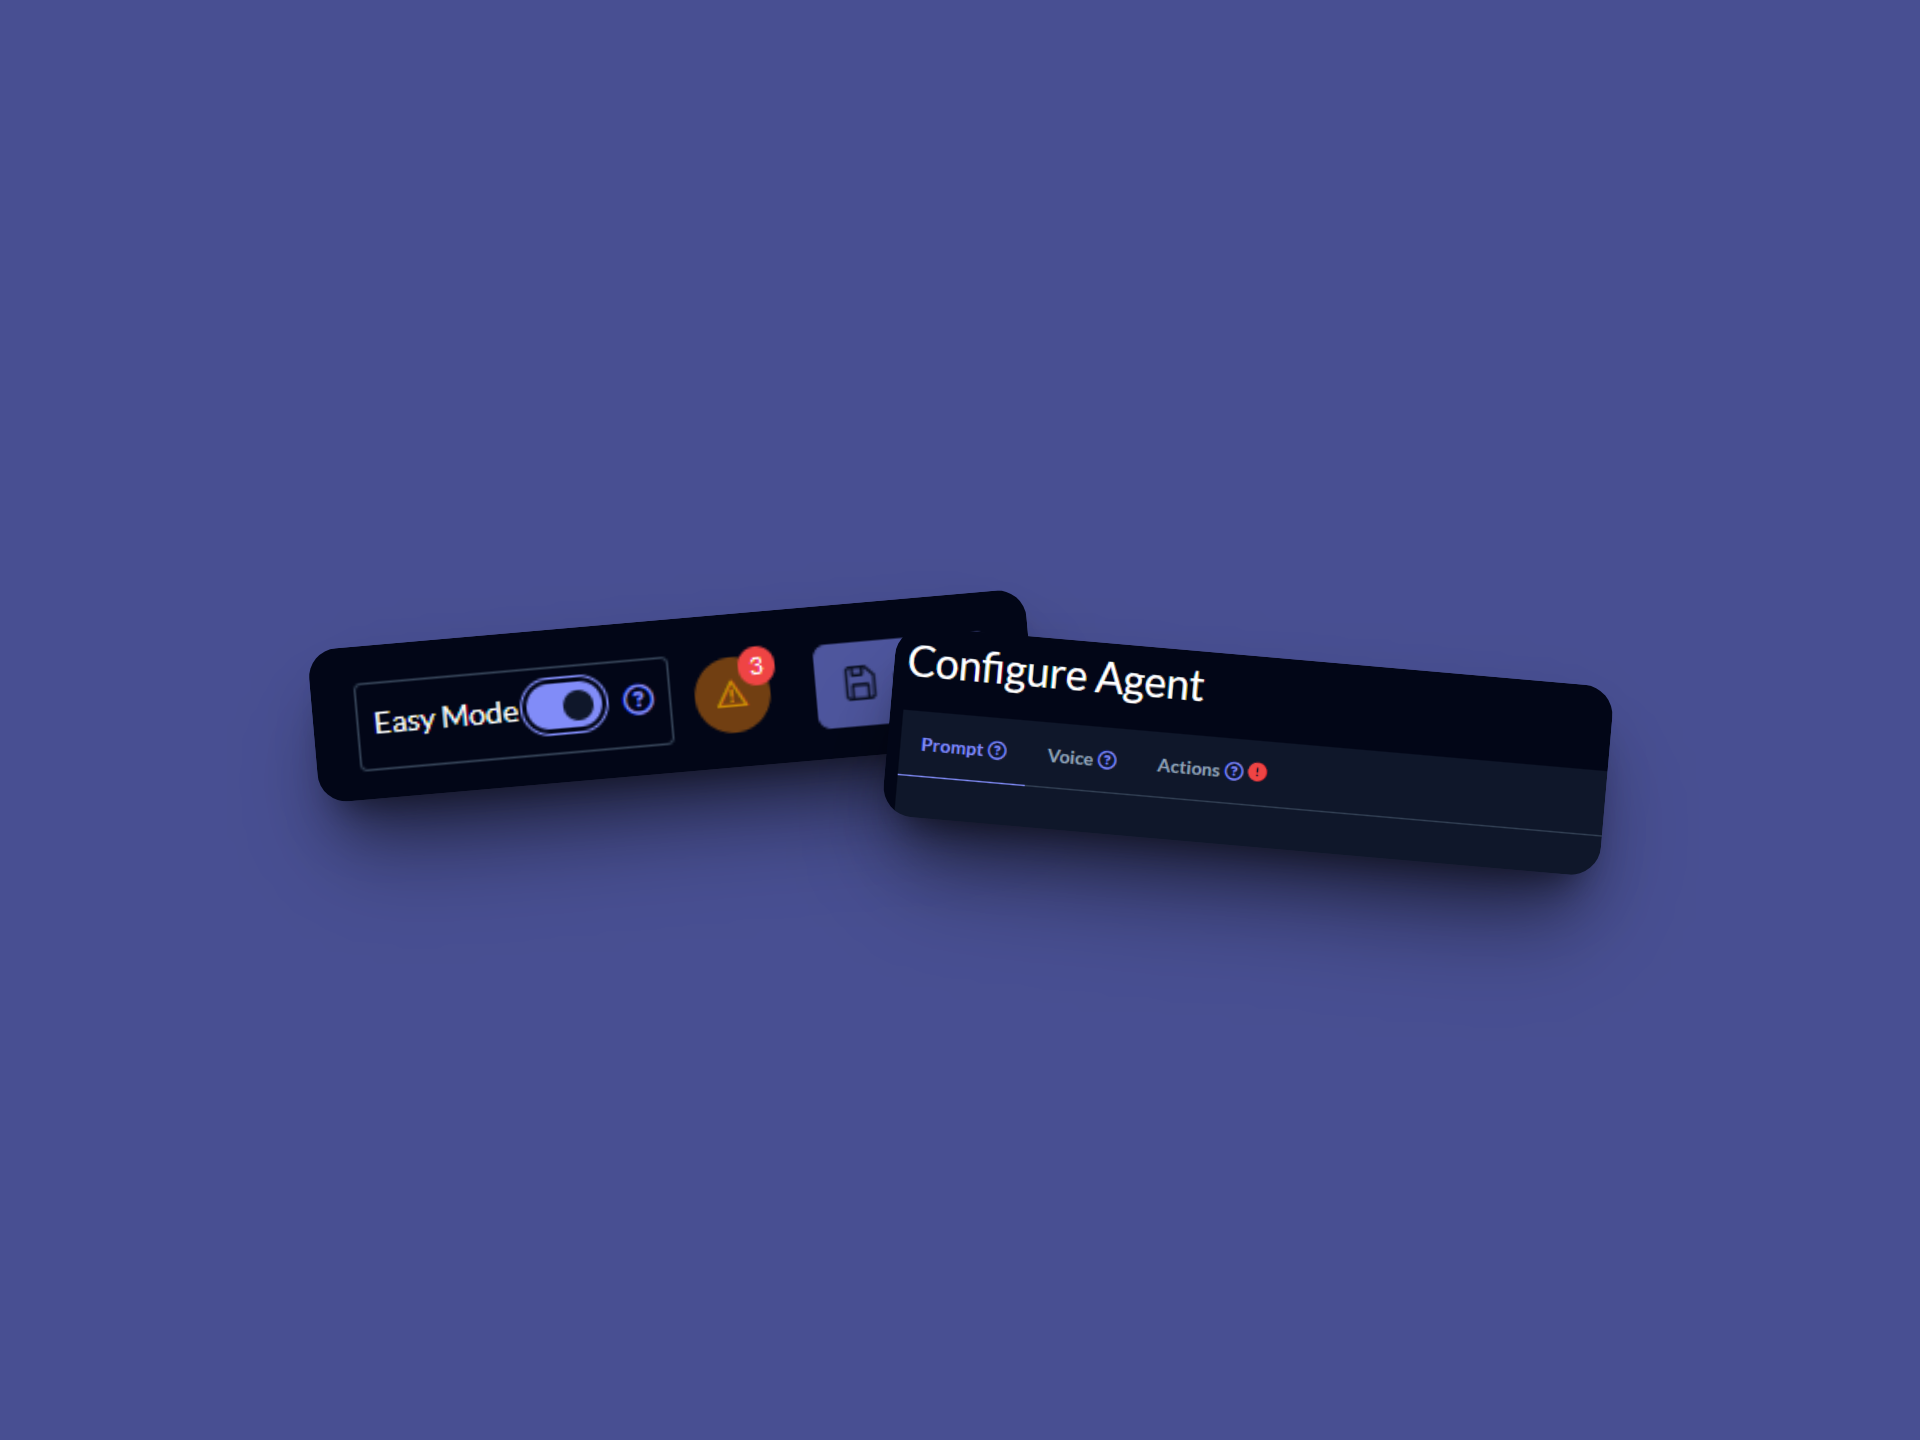
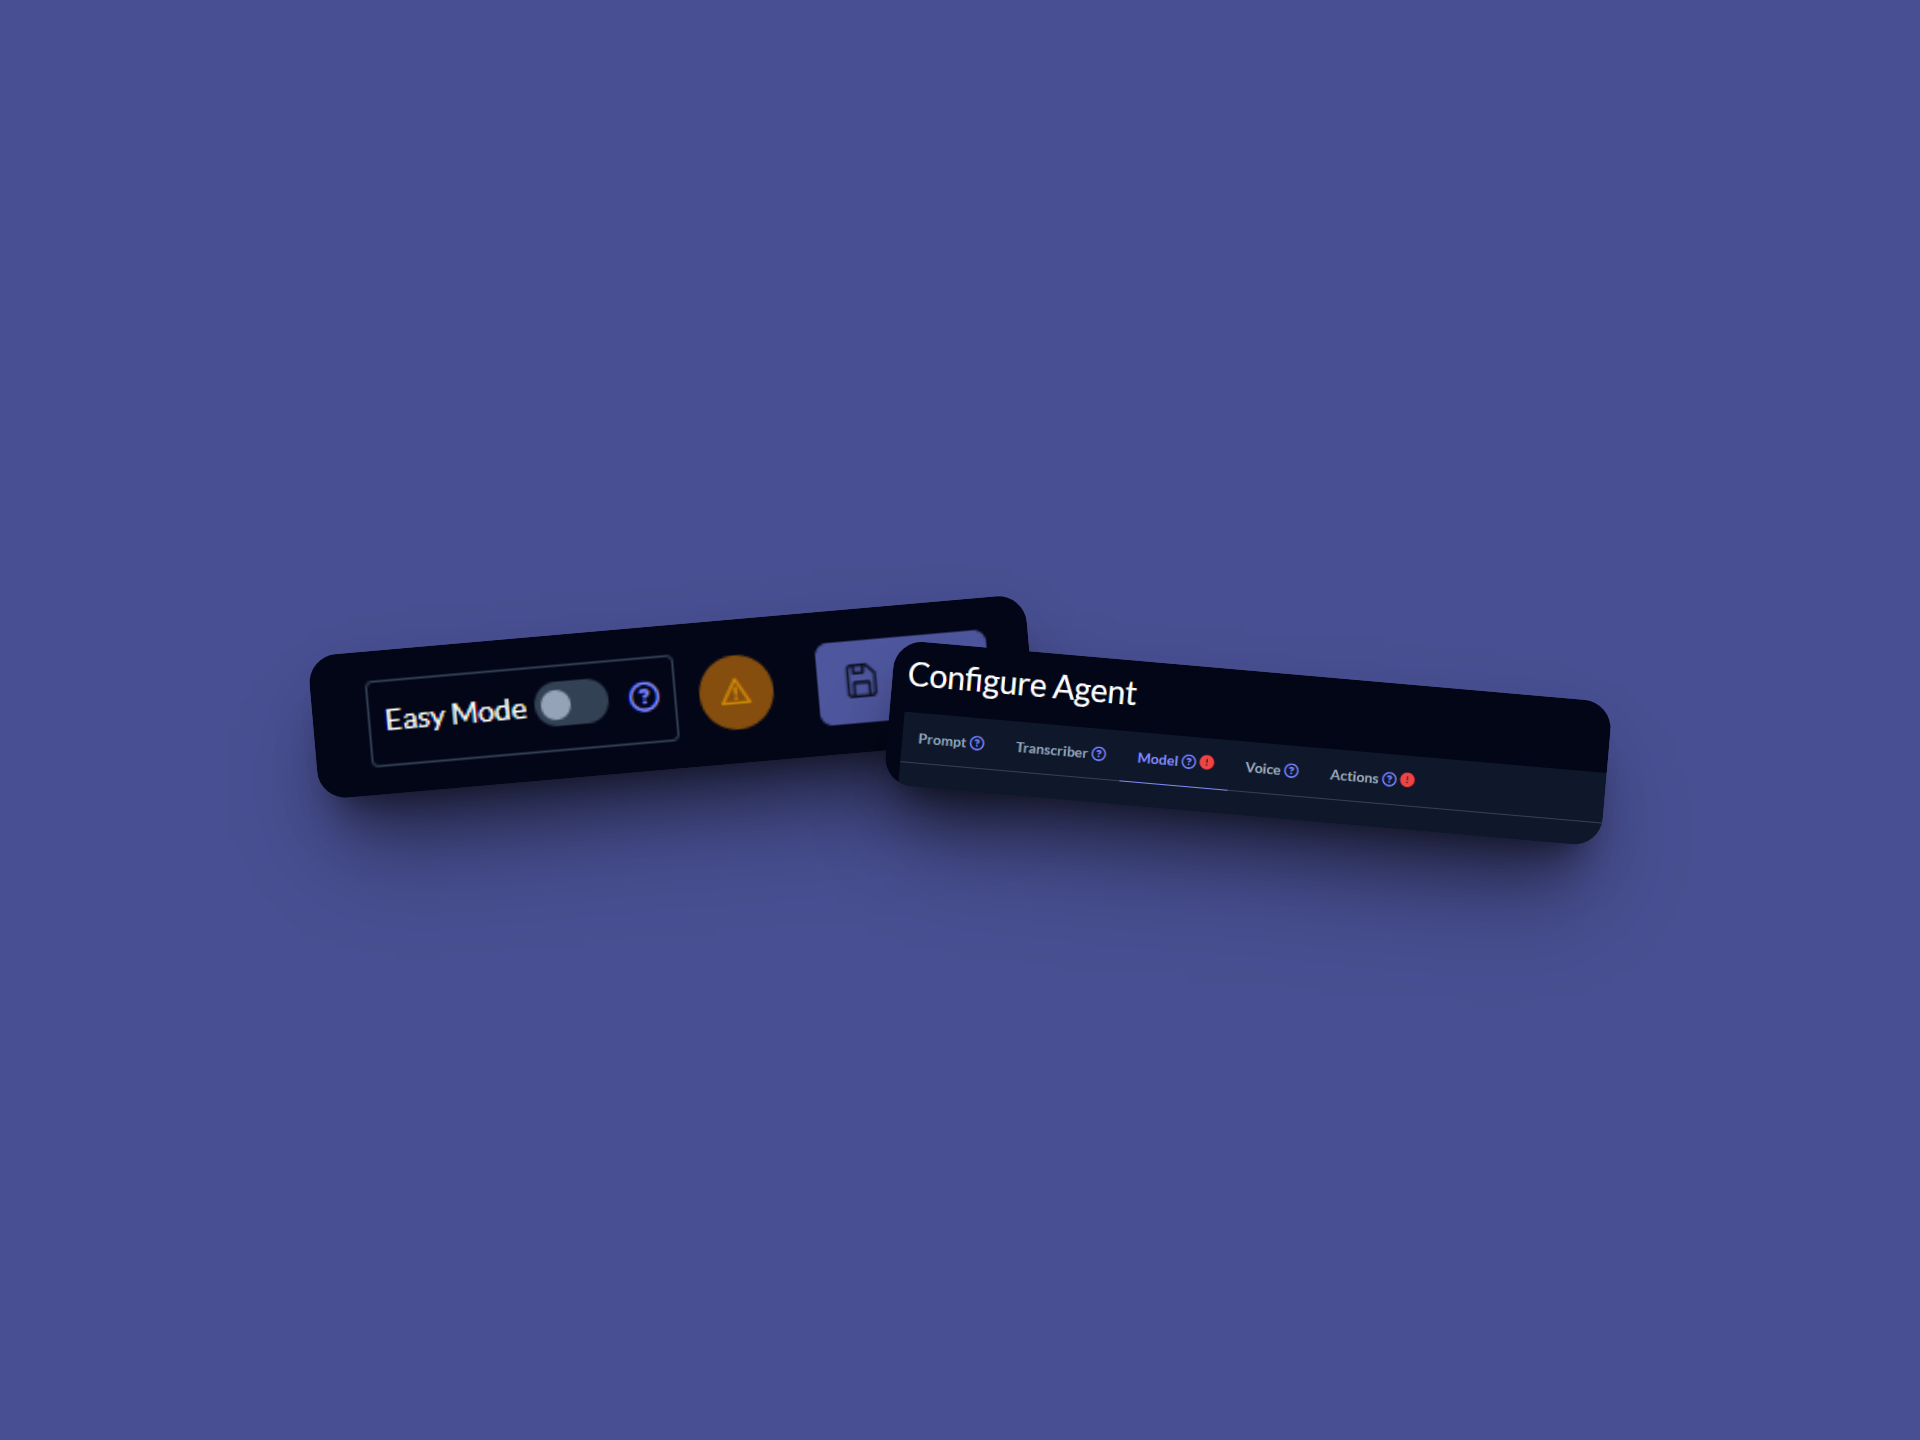
Easy Mode
Start with our simplified Easy Mode featuring three essential configurations: Prompt, Voice, and Actions. Perfect for quick setup and beginners.
Advanced Mode
Unlock advanced capabilities with additional configurations: Transcriber and Model settings alongside the core Prompt, Voice, and Actions.
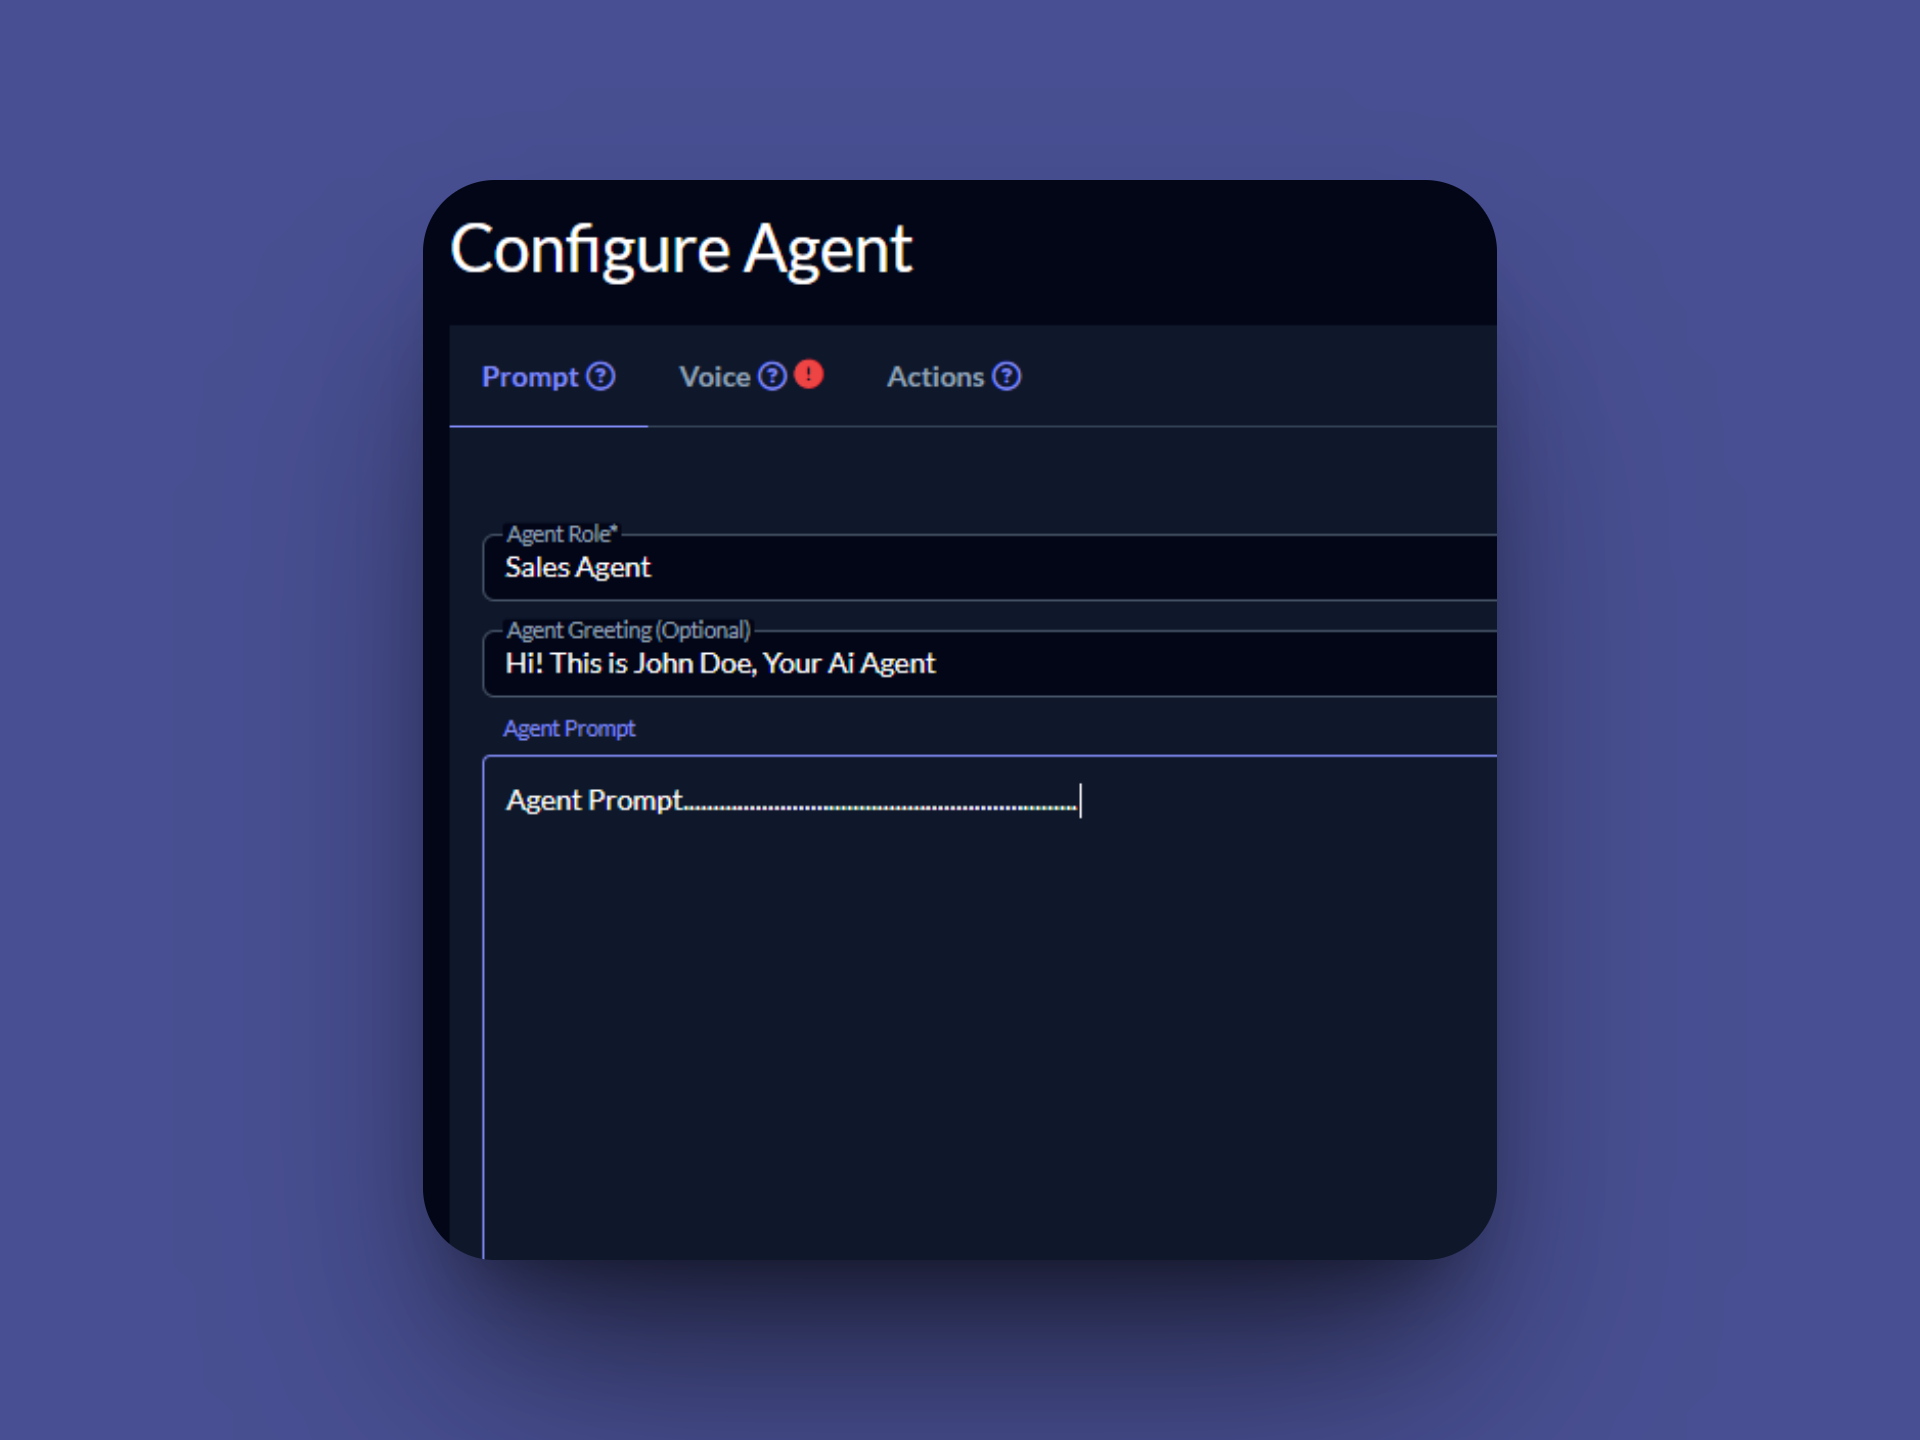
Prompt Configuration
Define your agent's personality and behavior with Agent Role, Agent Greeting, Agent Prompt, and GHL Actions integration.
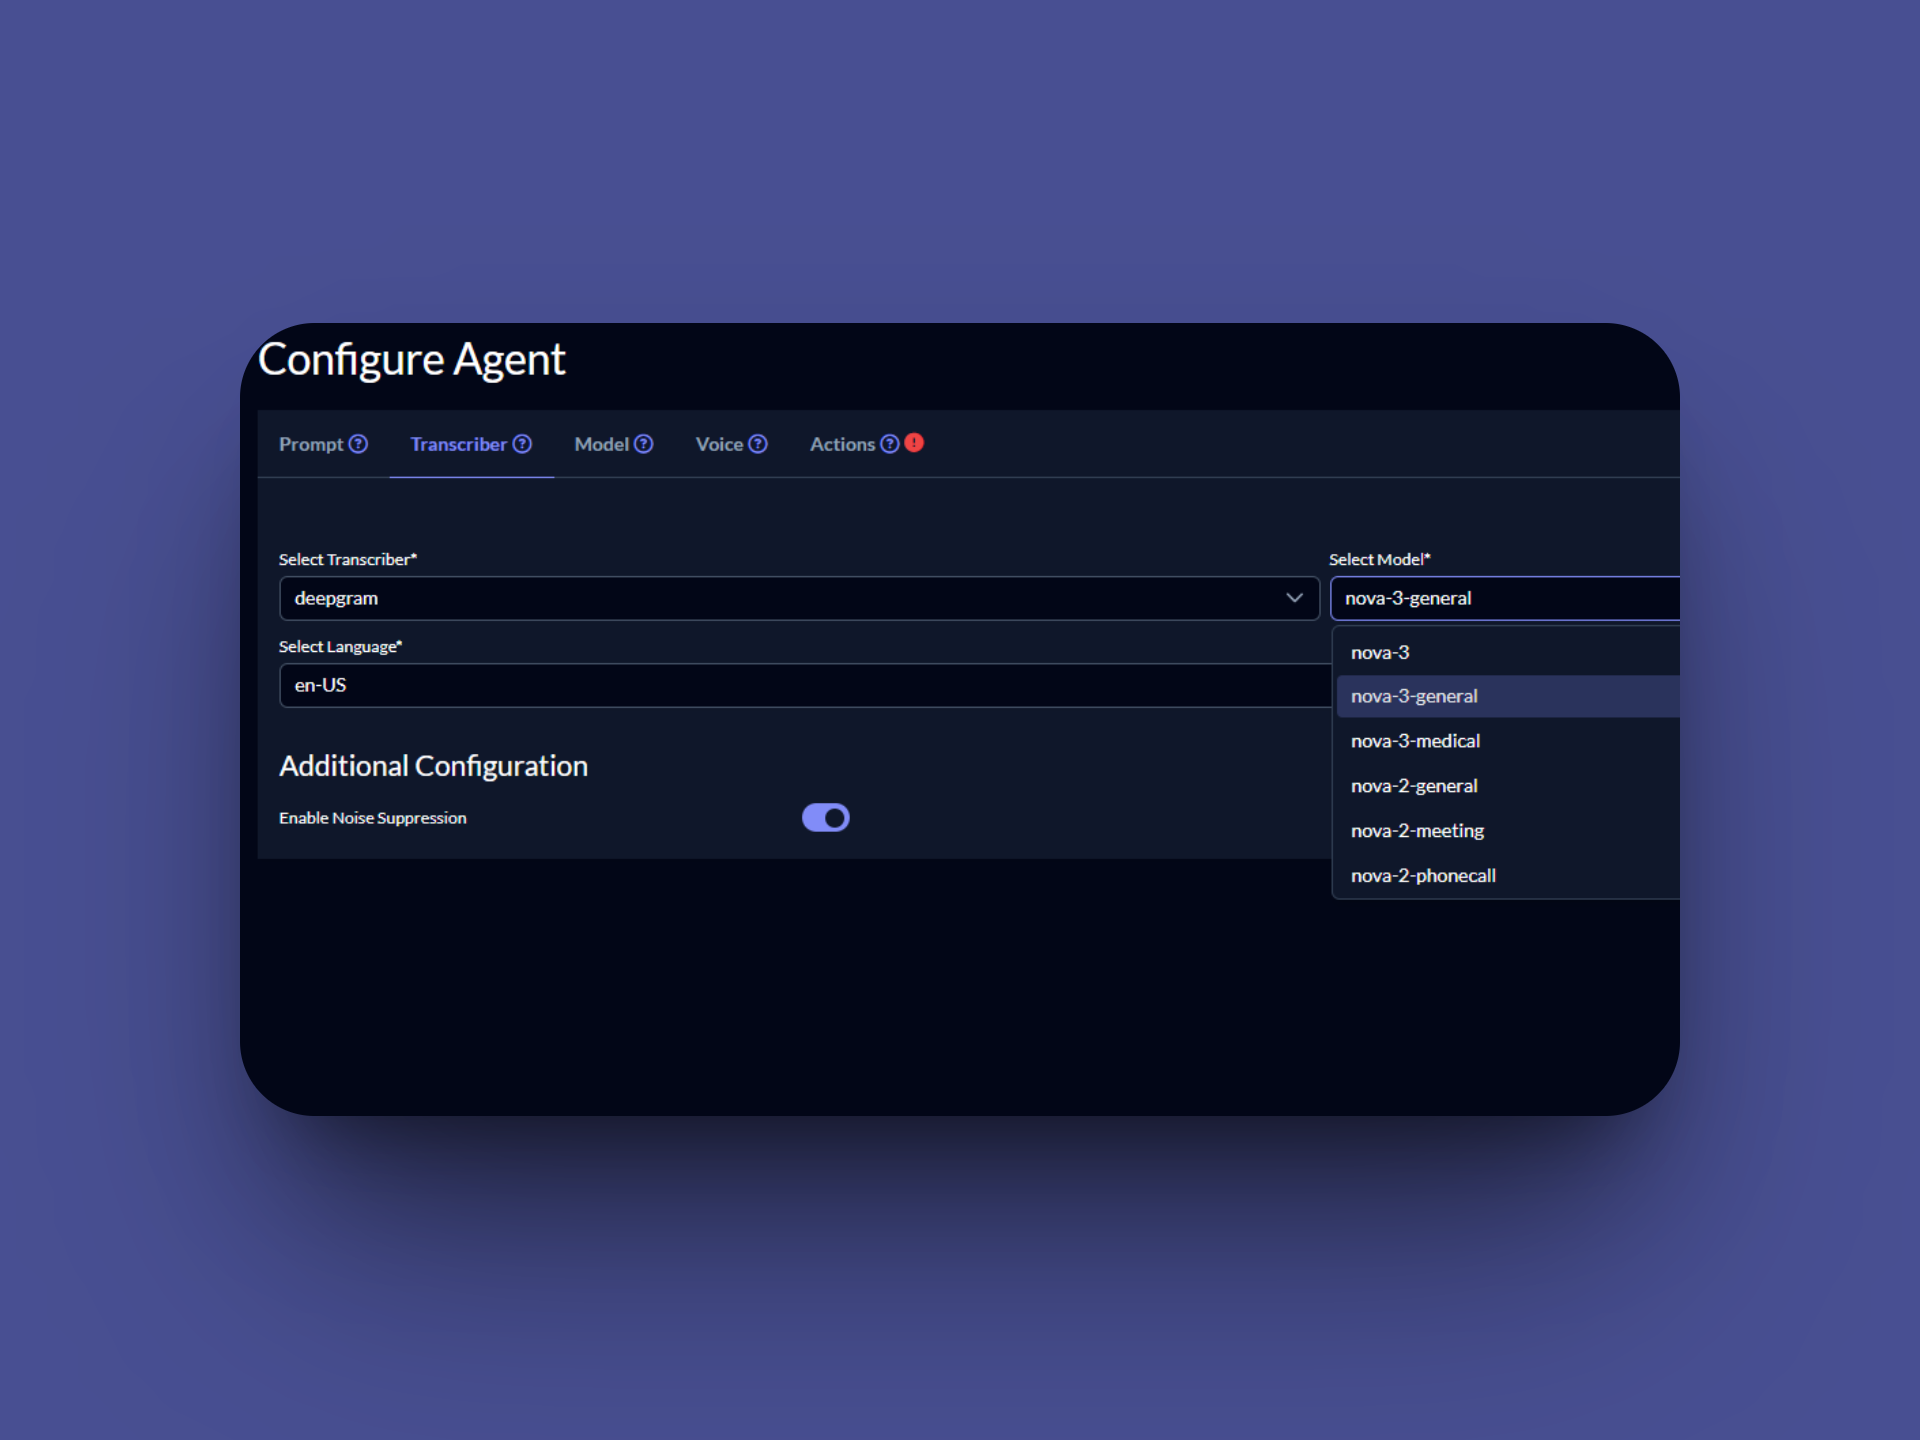
Transcriber Configuration
Configure speech-to-text settings with transcriber selection, model choice, language preferences, and noise suppression options.
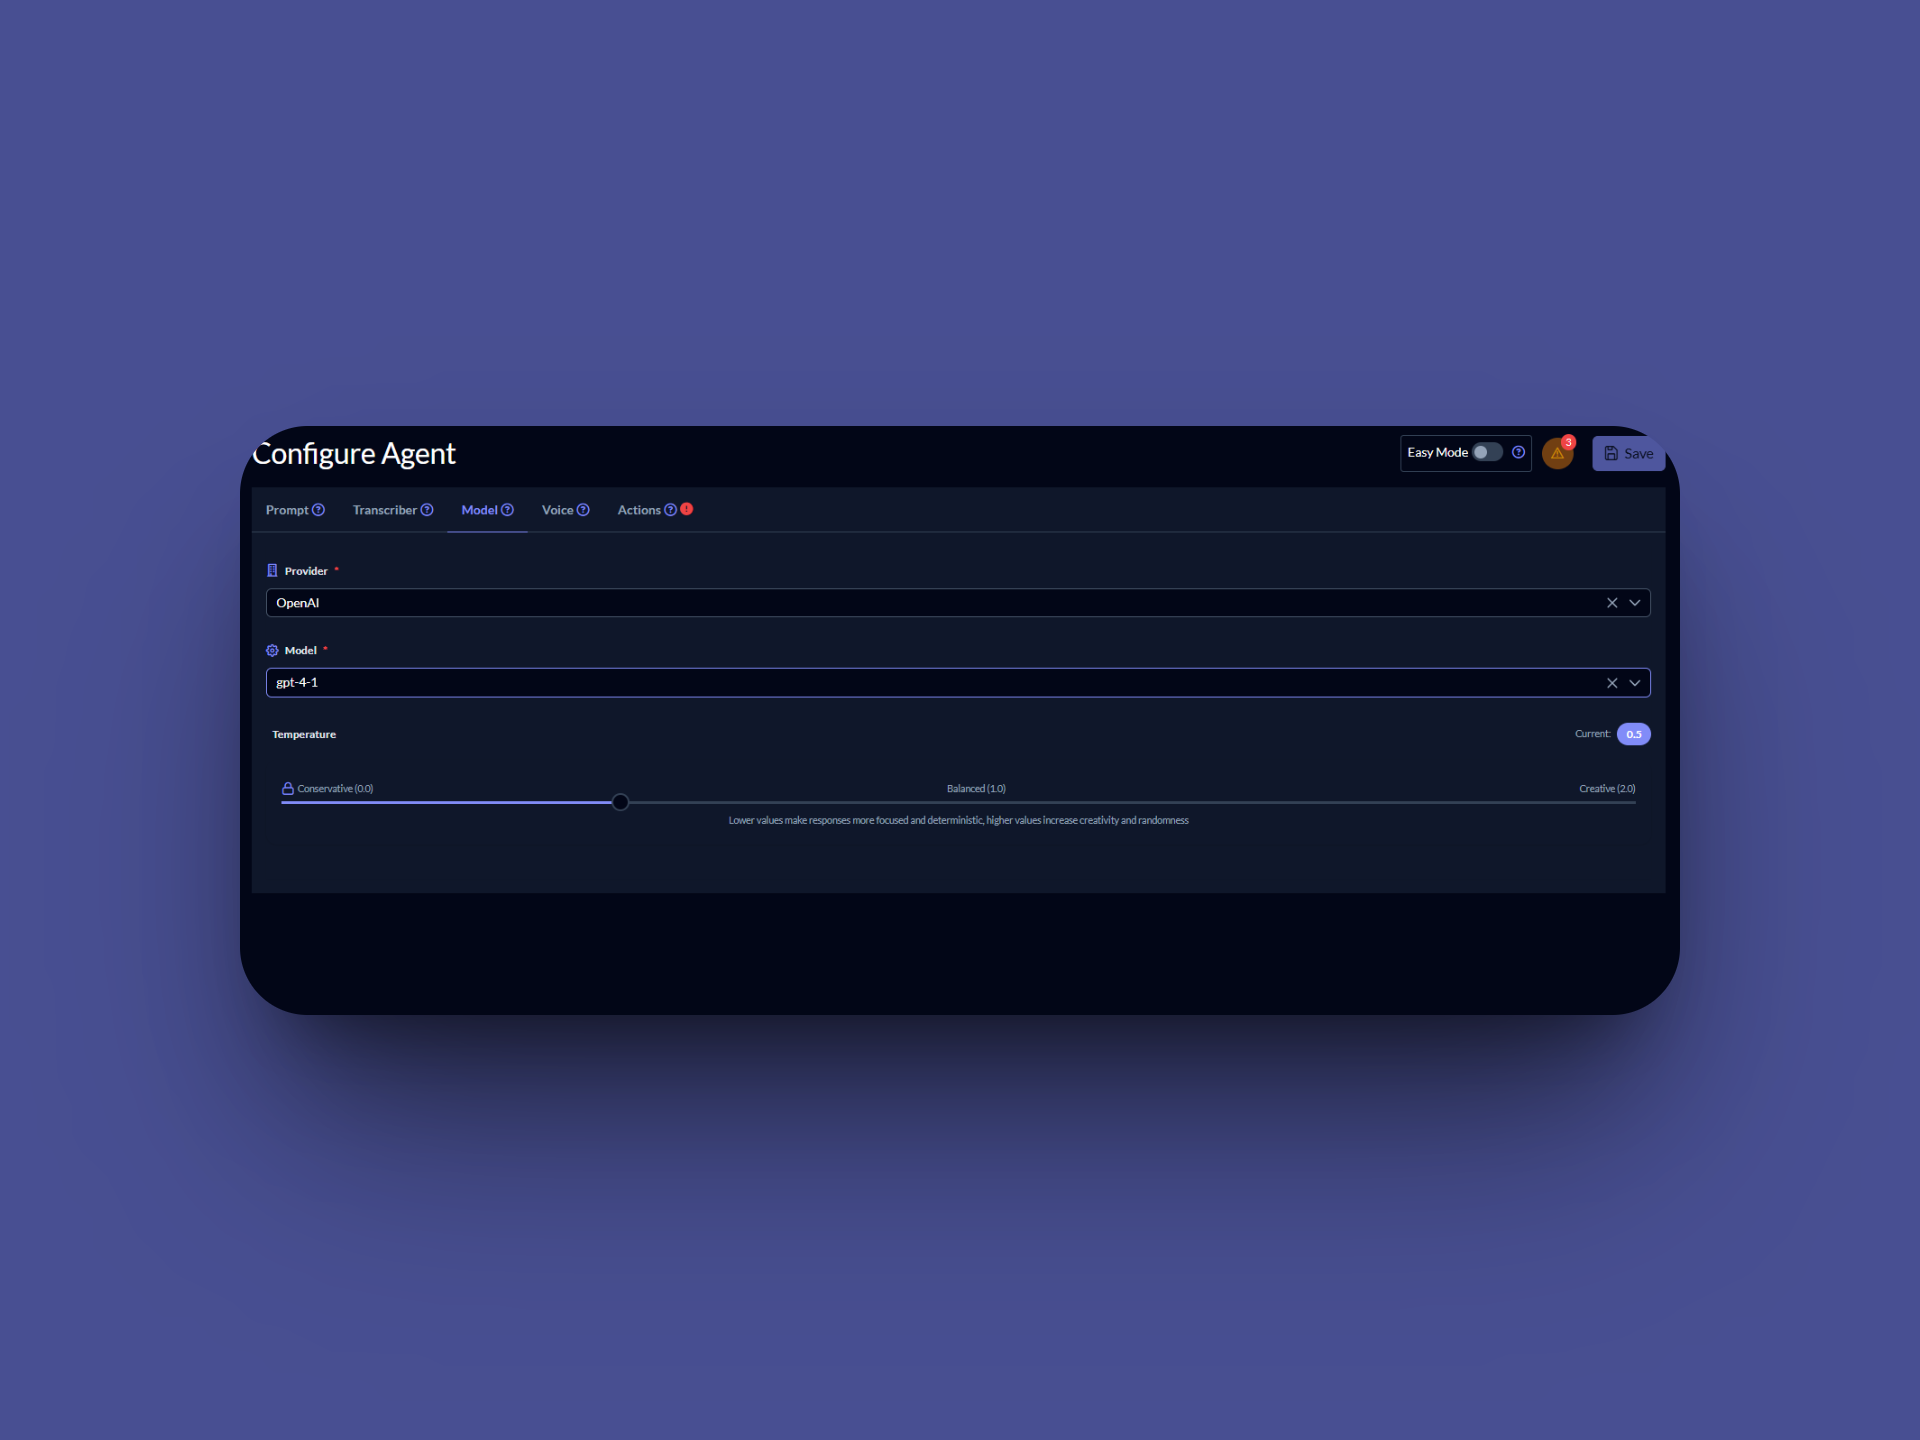
Model Configuration
Fine-tune your AI model with provider selection, model choice, and temperature settings from Conservative to Creative.
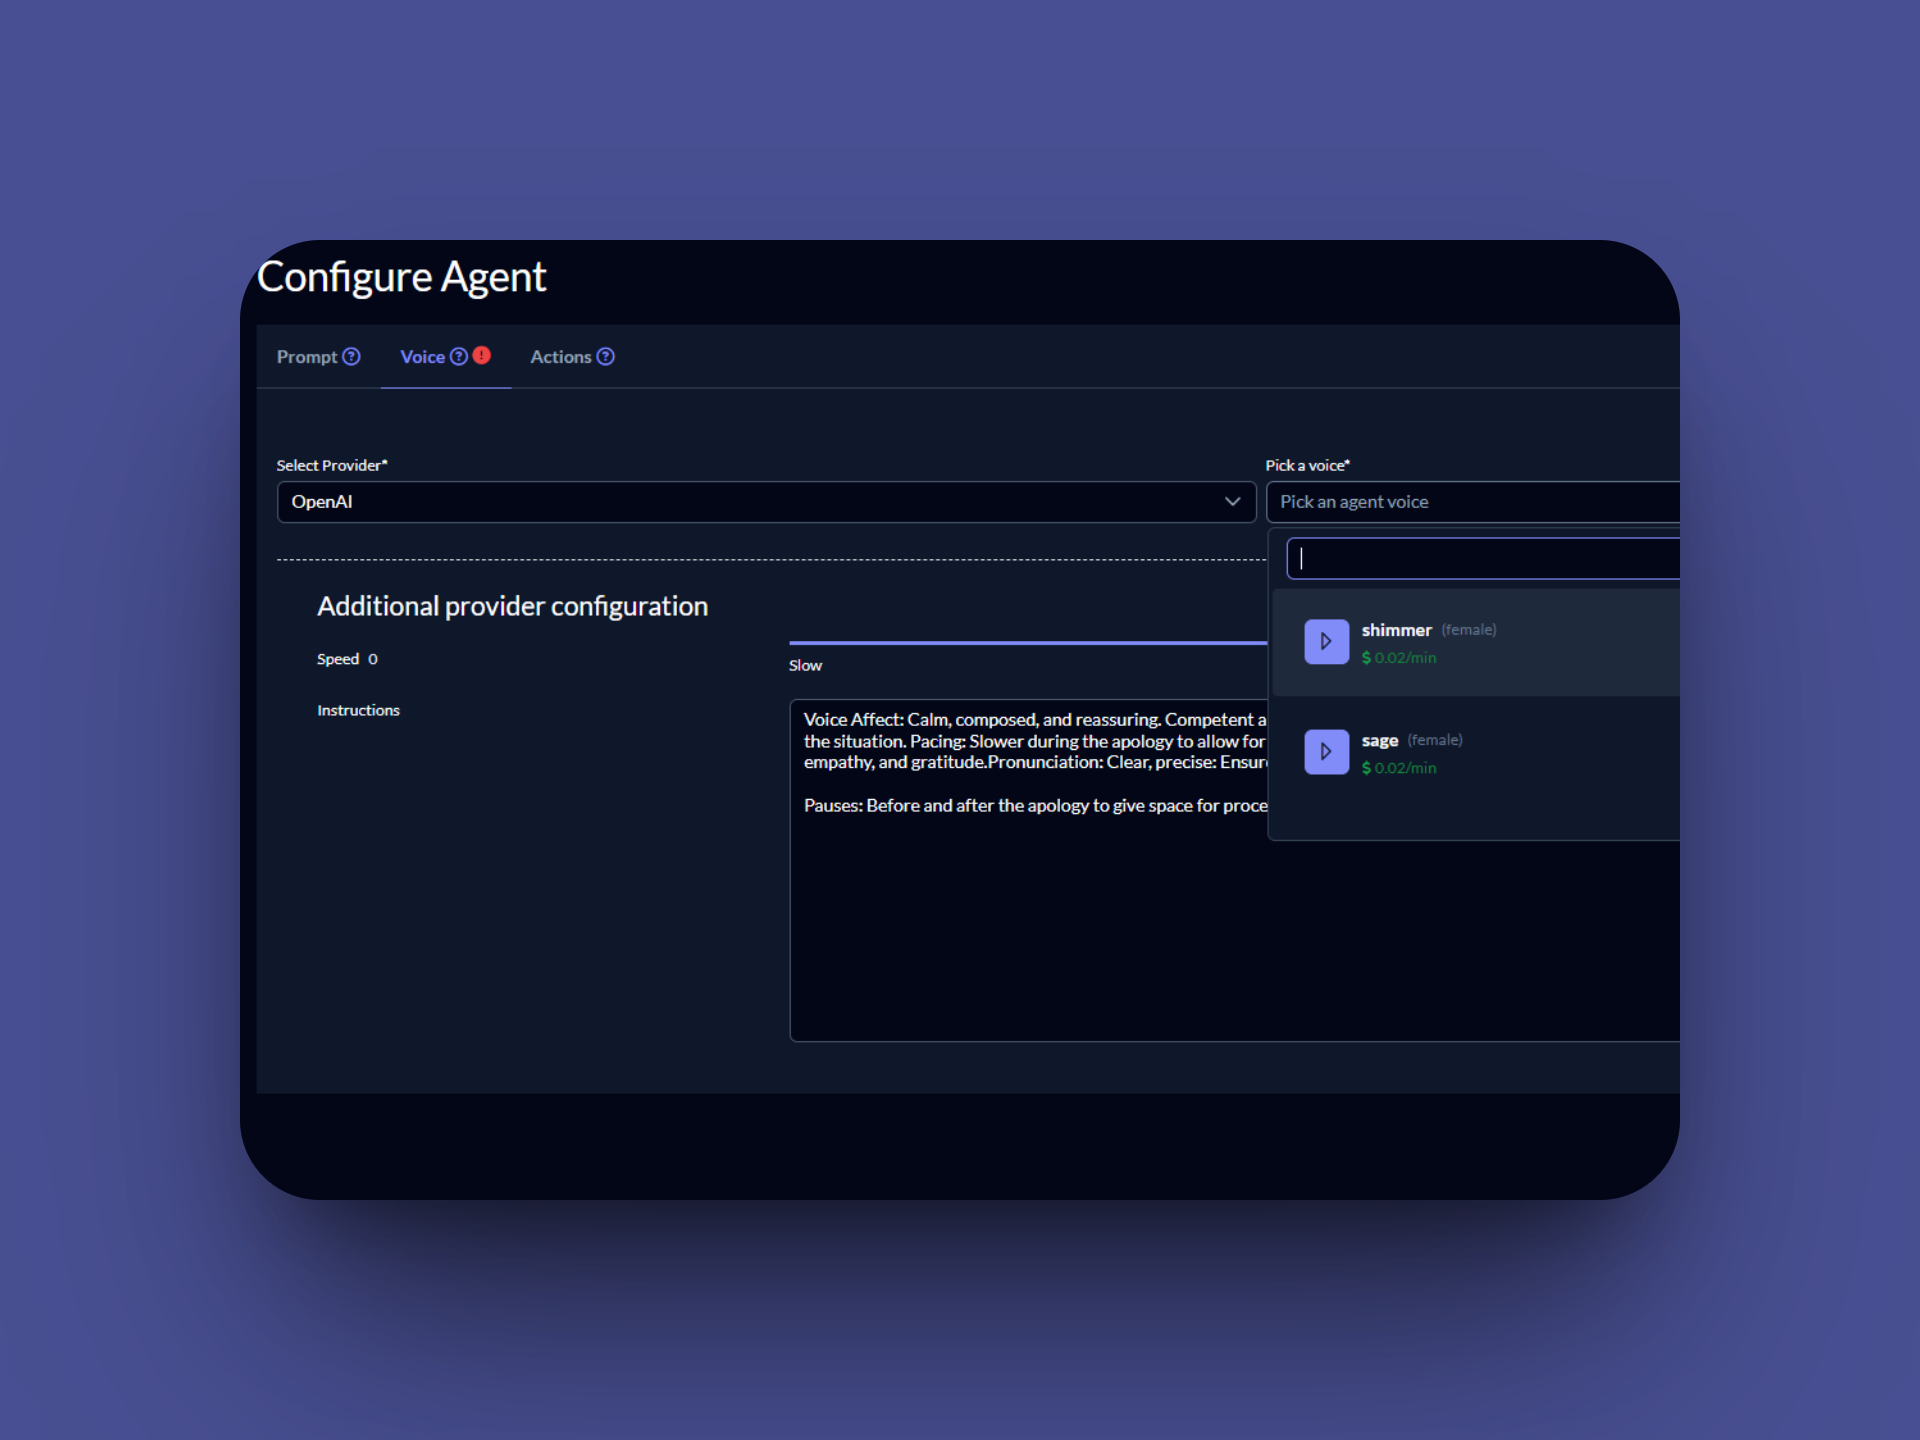
Voice Configuration
Customize your agent's voice with provider selection, voice picking, and additional configurations like speed and instructions.
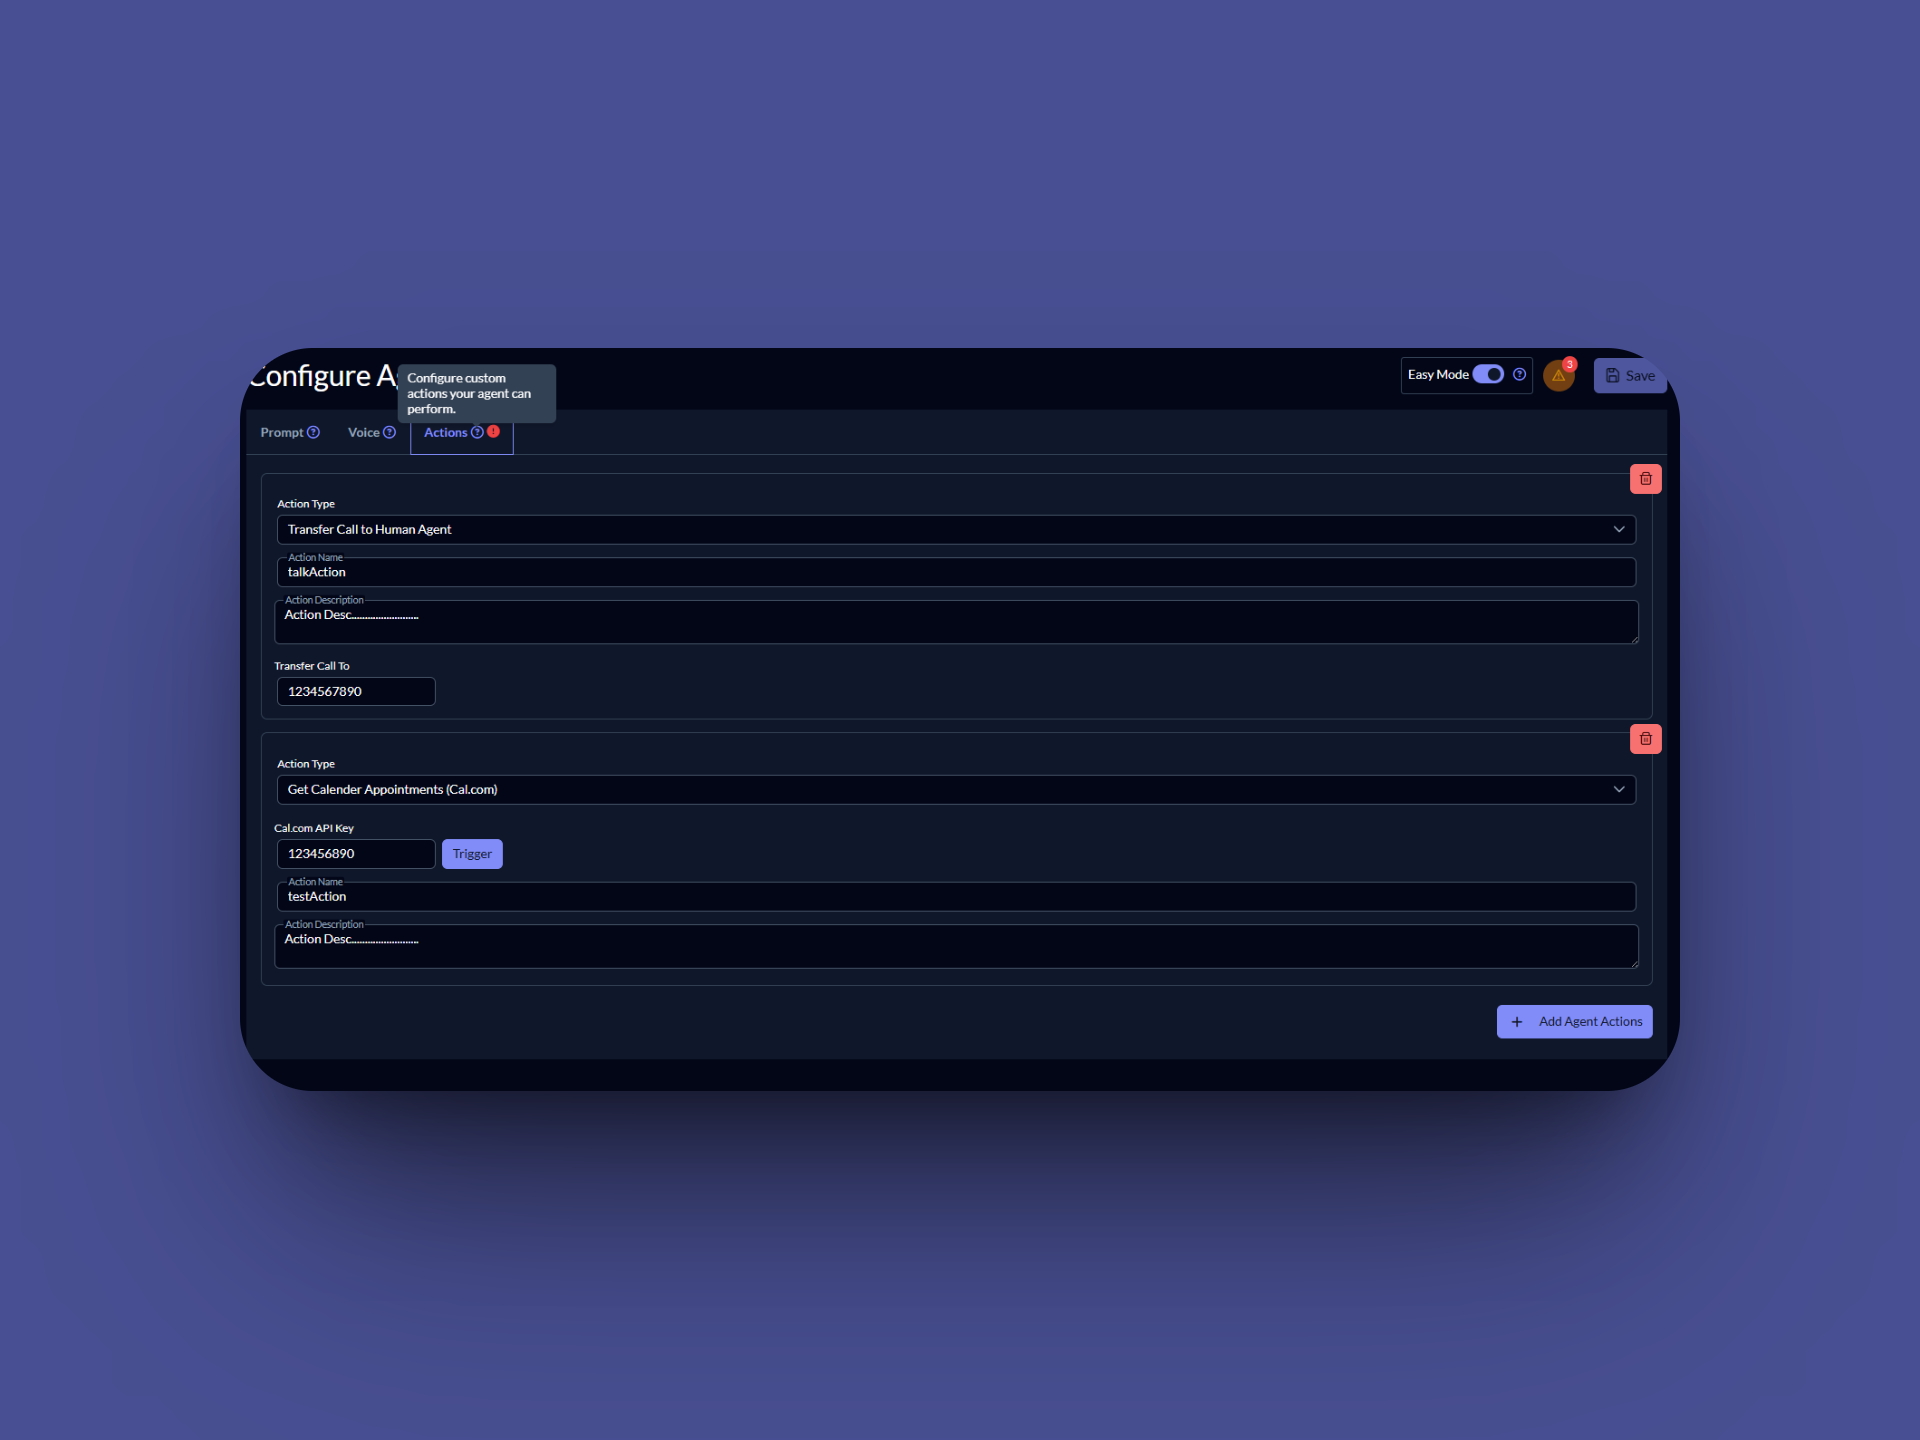
Action Configuration
Enhance your agent's capabilities by adding custom actions. Click "Add Agent Actions" to configure multiple action sets and integrations.